Tag Archives: cinnamon rolls

No-Rise Cinnamon Rolls

IMG_1897

There is not much like homemade cinnamon rolls. If you have the time, I strongly urge you to make the real deal yeast-risen kind… You can even prepare the dough at night and put it in the fridge to rise overnight, which bakes up beautiful & fresh in the morning… But… if you wake up on the weekend craving cinnamon rolls and you didn’t prepare the night before, well, dang. Sometimes you just have to figure something out!! Which is where these come in.

So, I was kinda wingin’ it with these and they turned out really good!  You can make them with any kind of milk… almond, soy or even coconut milk from a can… and  you can choose between soy margarine or coconut oil for your fat. I have done them both ways and I recommend using coconut milk (for moistness) and soy margarine (for the flakiest pull-apart sections)! The taste was good when using the coconut oil but it didn’t make the sections flaky like when I used the soy butter. The oil made them almost muffin-y, which isn’t the cinnamon roll I was looking for.

No Rise Cinnamon Rolls

Ingredients:

  • 3 1/2 cups flour (basically any kind will do! I strongly suggest using at least half unbleached white flour so they aren’t too “healthy tasting” – C’mon, you’re making cinnamon rolls! Splurge! I used 3 cups unbleached flour + 1/2 cup whole wheat pastry flour)
  • 1 tsp salt
  • 1 Tbsp baking powder
  • 2 tsp baking soda
  • 6 Tbsp soy margarine
  • 1 cup almond OR soy milk OR unsweetened coconut milk (canned)
  • 1 tsp vanilla
  • 1/3 cup fresh orange juice (tip: Valencia’s are juicy!)
  • 2 tsp melted butter (for brushing on dough before sprinkling filling)
  • 3/4 cup brown sugar (for the filling)
  • 1-2 Tbsp cinnamon (for the filling)
  • frosting ingredients (see below)

1) Mix dry ingredients and cut in the margarine with a fork or with your fingers until well broken up. Pea sized bits are good. Little bits & pieces make for a yummy flaky dough!

2) In a separate bowl, mix your milk of choice, vanilla & oj.

3) Make a well in the center of the flour mixture and pour the liquids in.

4) Fold the dough gently with a rubber spatula until it is well combined. Try to mix as little as necessary to avoid having tough dough. The dough should be thick but soft. (If the dough seems a little too dry and isn’t coming together, add a teeny splash more of milk. If it’s too sticky, add a tiny sprinkle more of flour. Do this if only absolutely necessary.)

5) Gather the dough into a ball and roll it out into a large rectangle on a lightly floured surface. It really helps to roll it out on some lightly floured parchment if you have any. That way when you are rolling it into a tube, it doesn’t get stuck on the counter as easily. Roll it out to between 1/4″ – 1/2″ thick.

IMG_1872

Roll out the dough into a thick large rectangle…

6) Brush the dough with the melted butter and sprinkle the cinnamon and sugar. Leave the very edge uncovered, so when you roll it up and pinch it together, it sticks easier.

IMG_1873

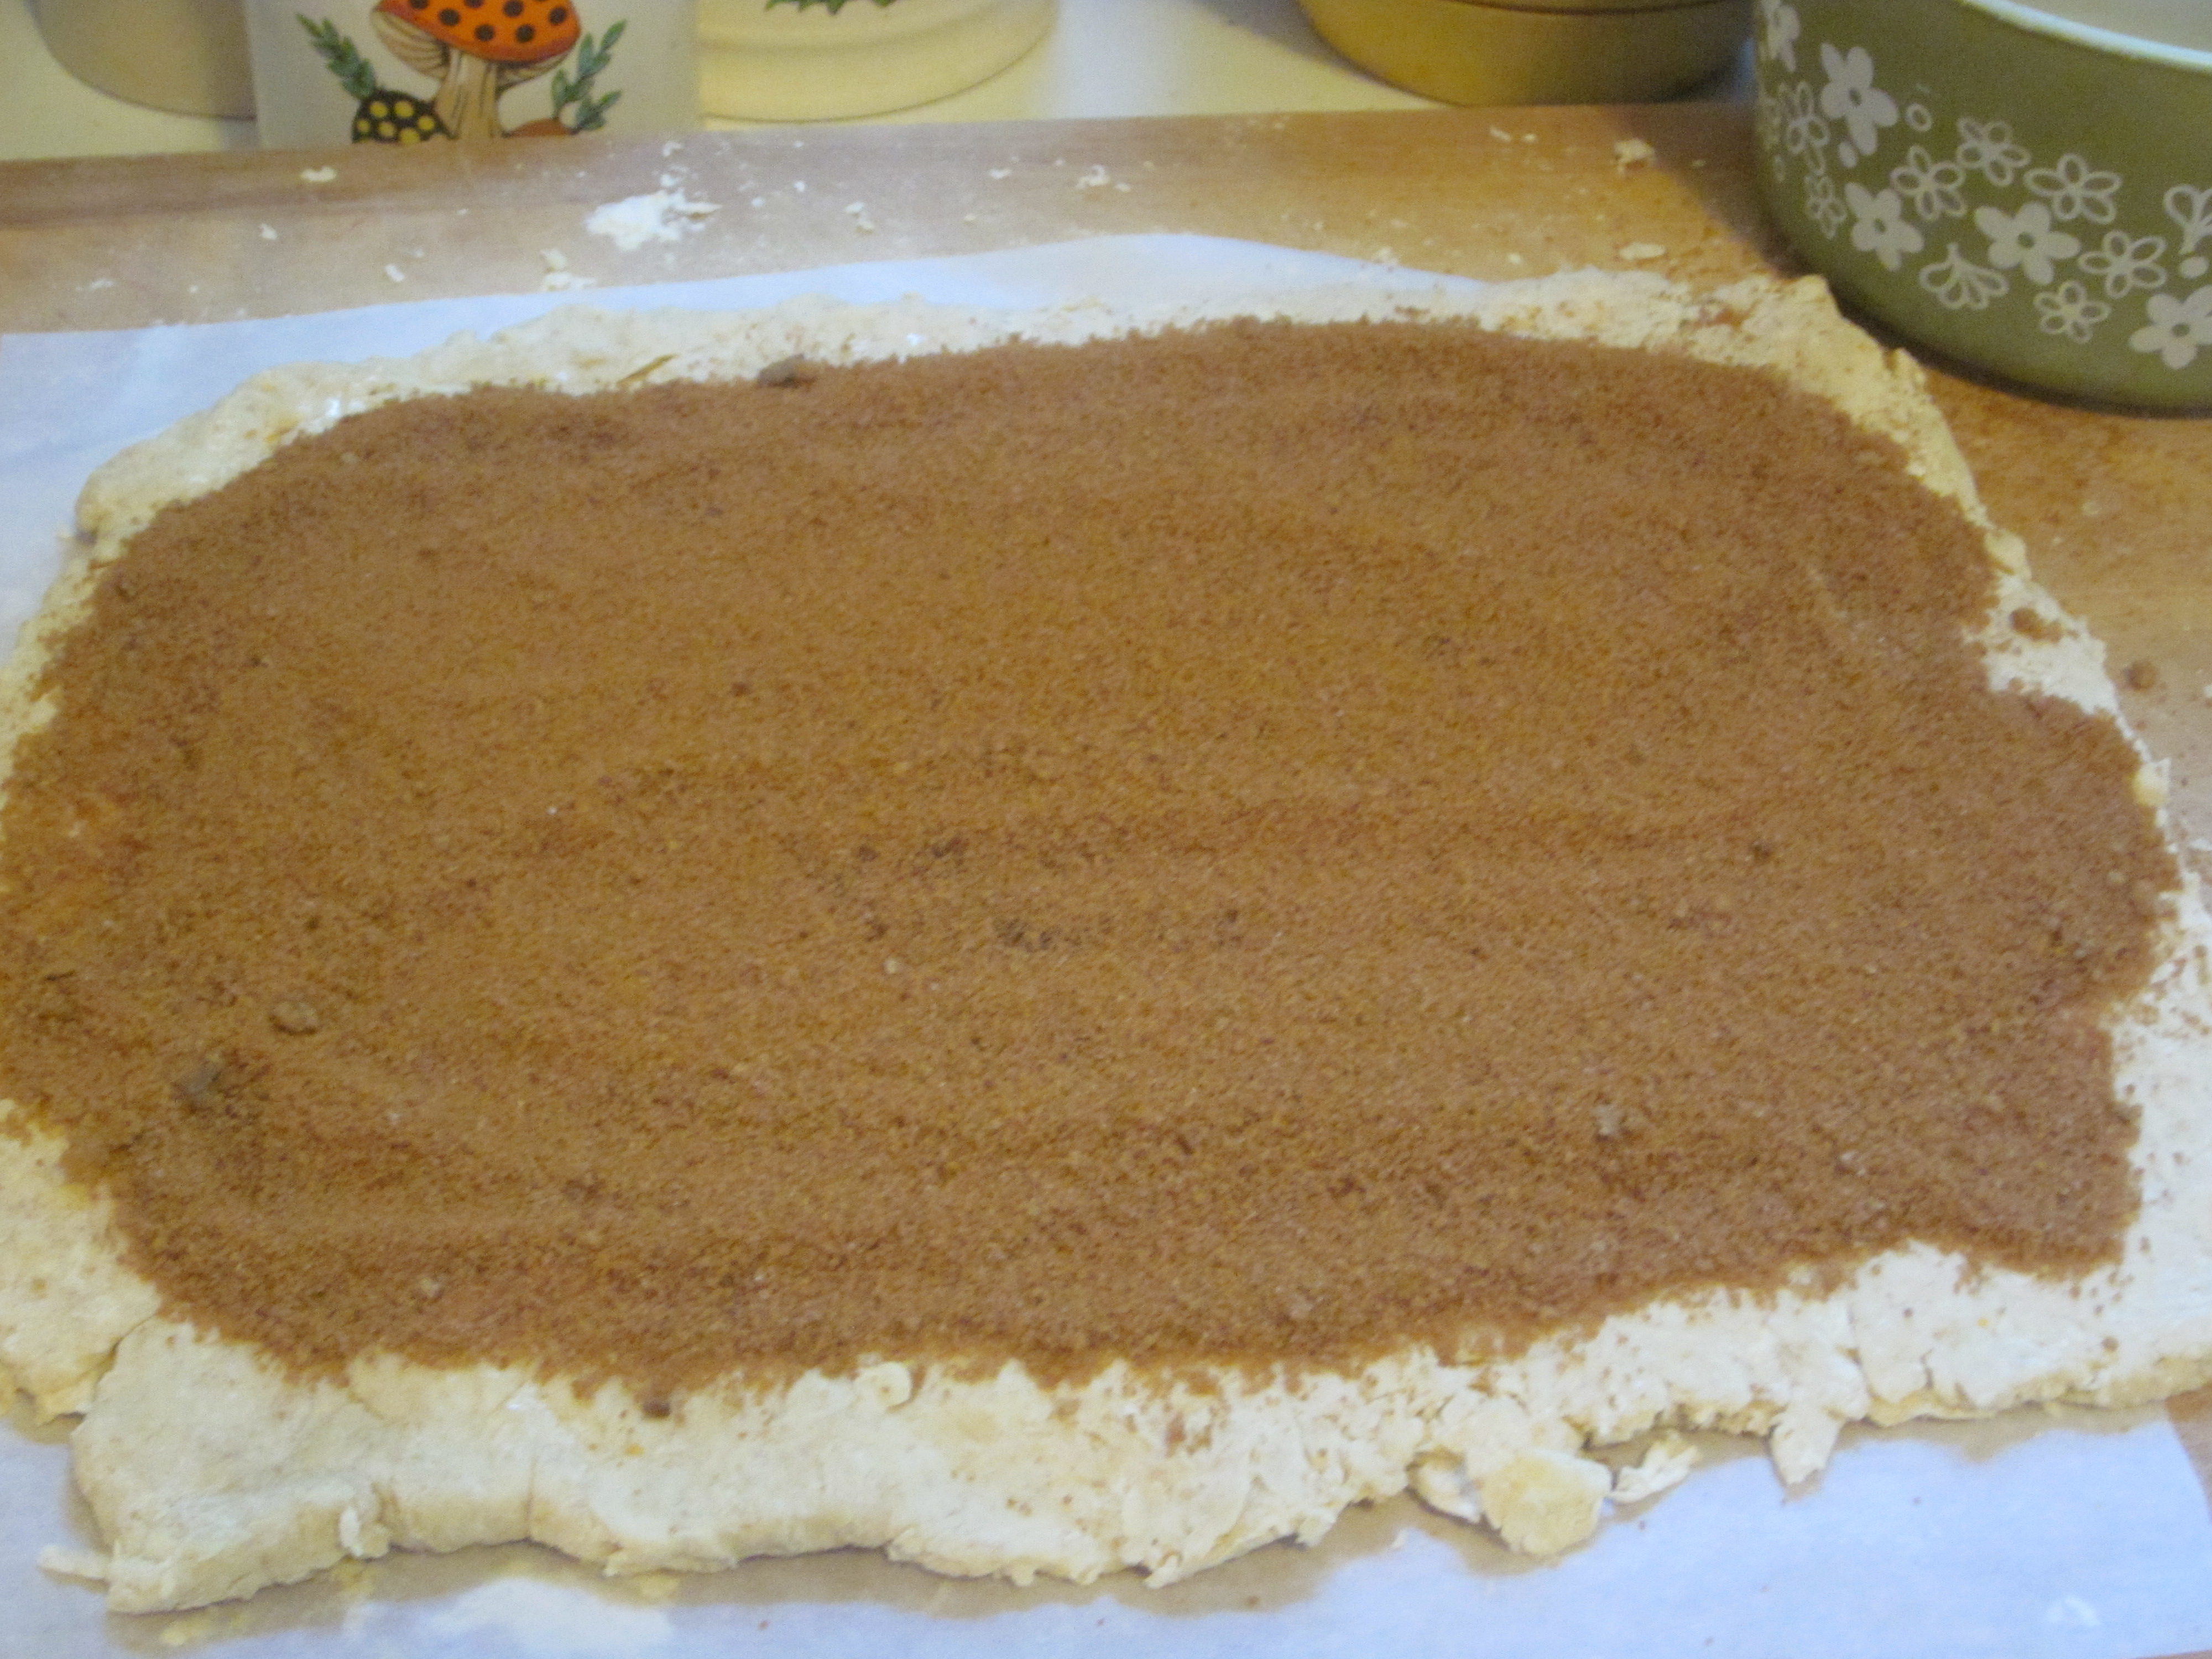
Spread the sugar evenly!

7) Roll up carefully & pinch the seam together. Cut the tube into slices (A serrated knife or criss-crossing dental floss to cut the rounds is an easy technique!) Cut them into nice thick rounds… 1  1/2″ wide is good! Im gonna make it a point to shoot for 10 from now on.
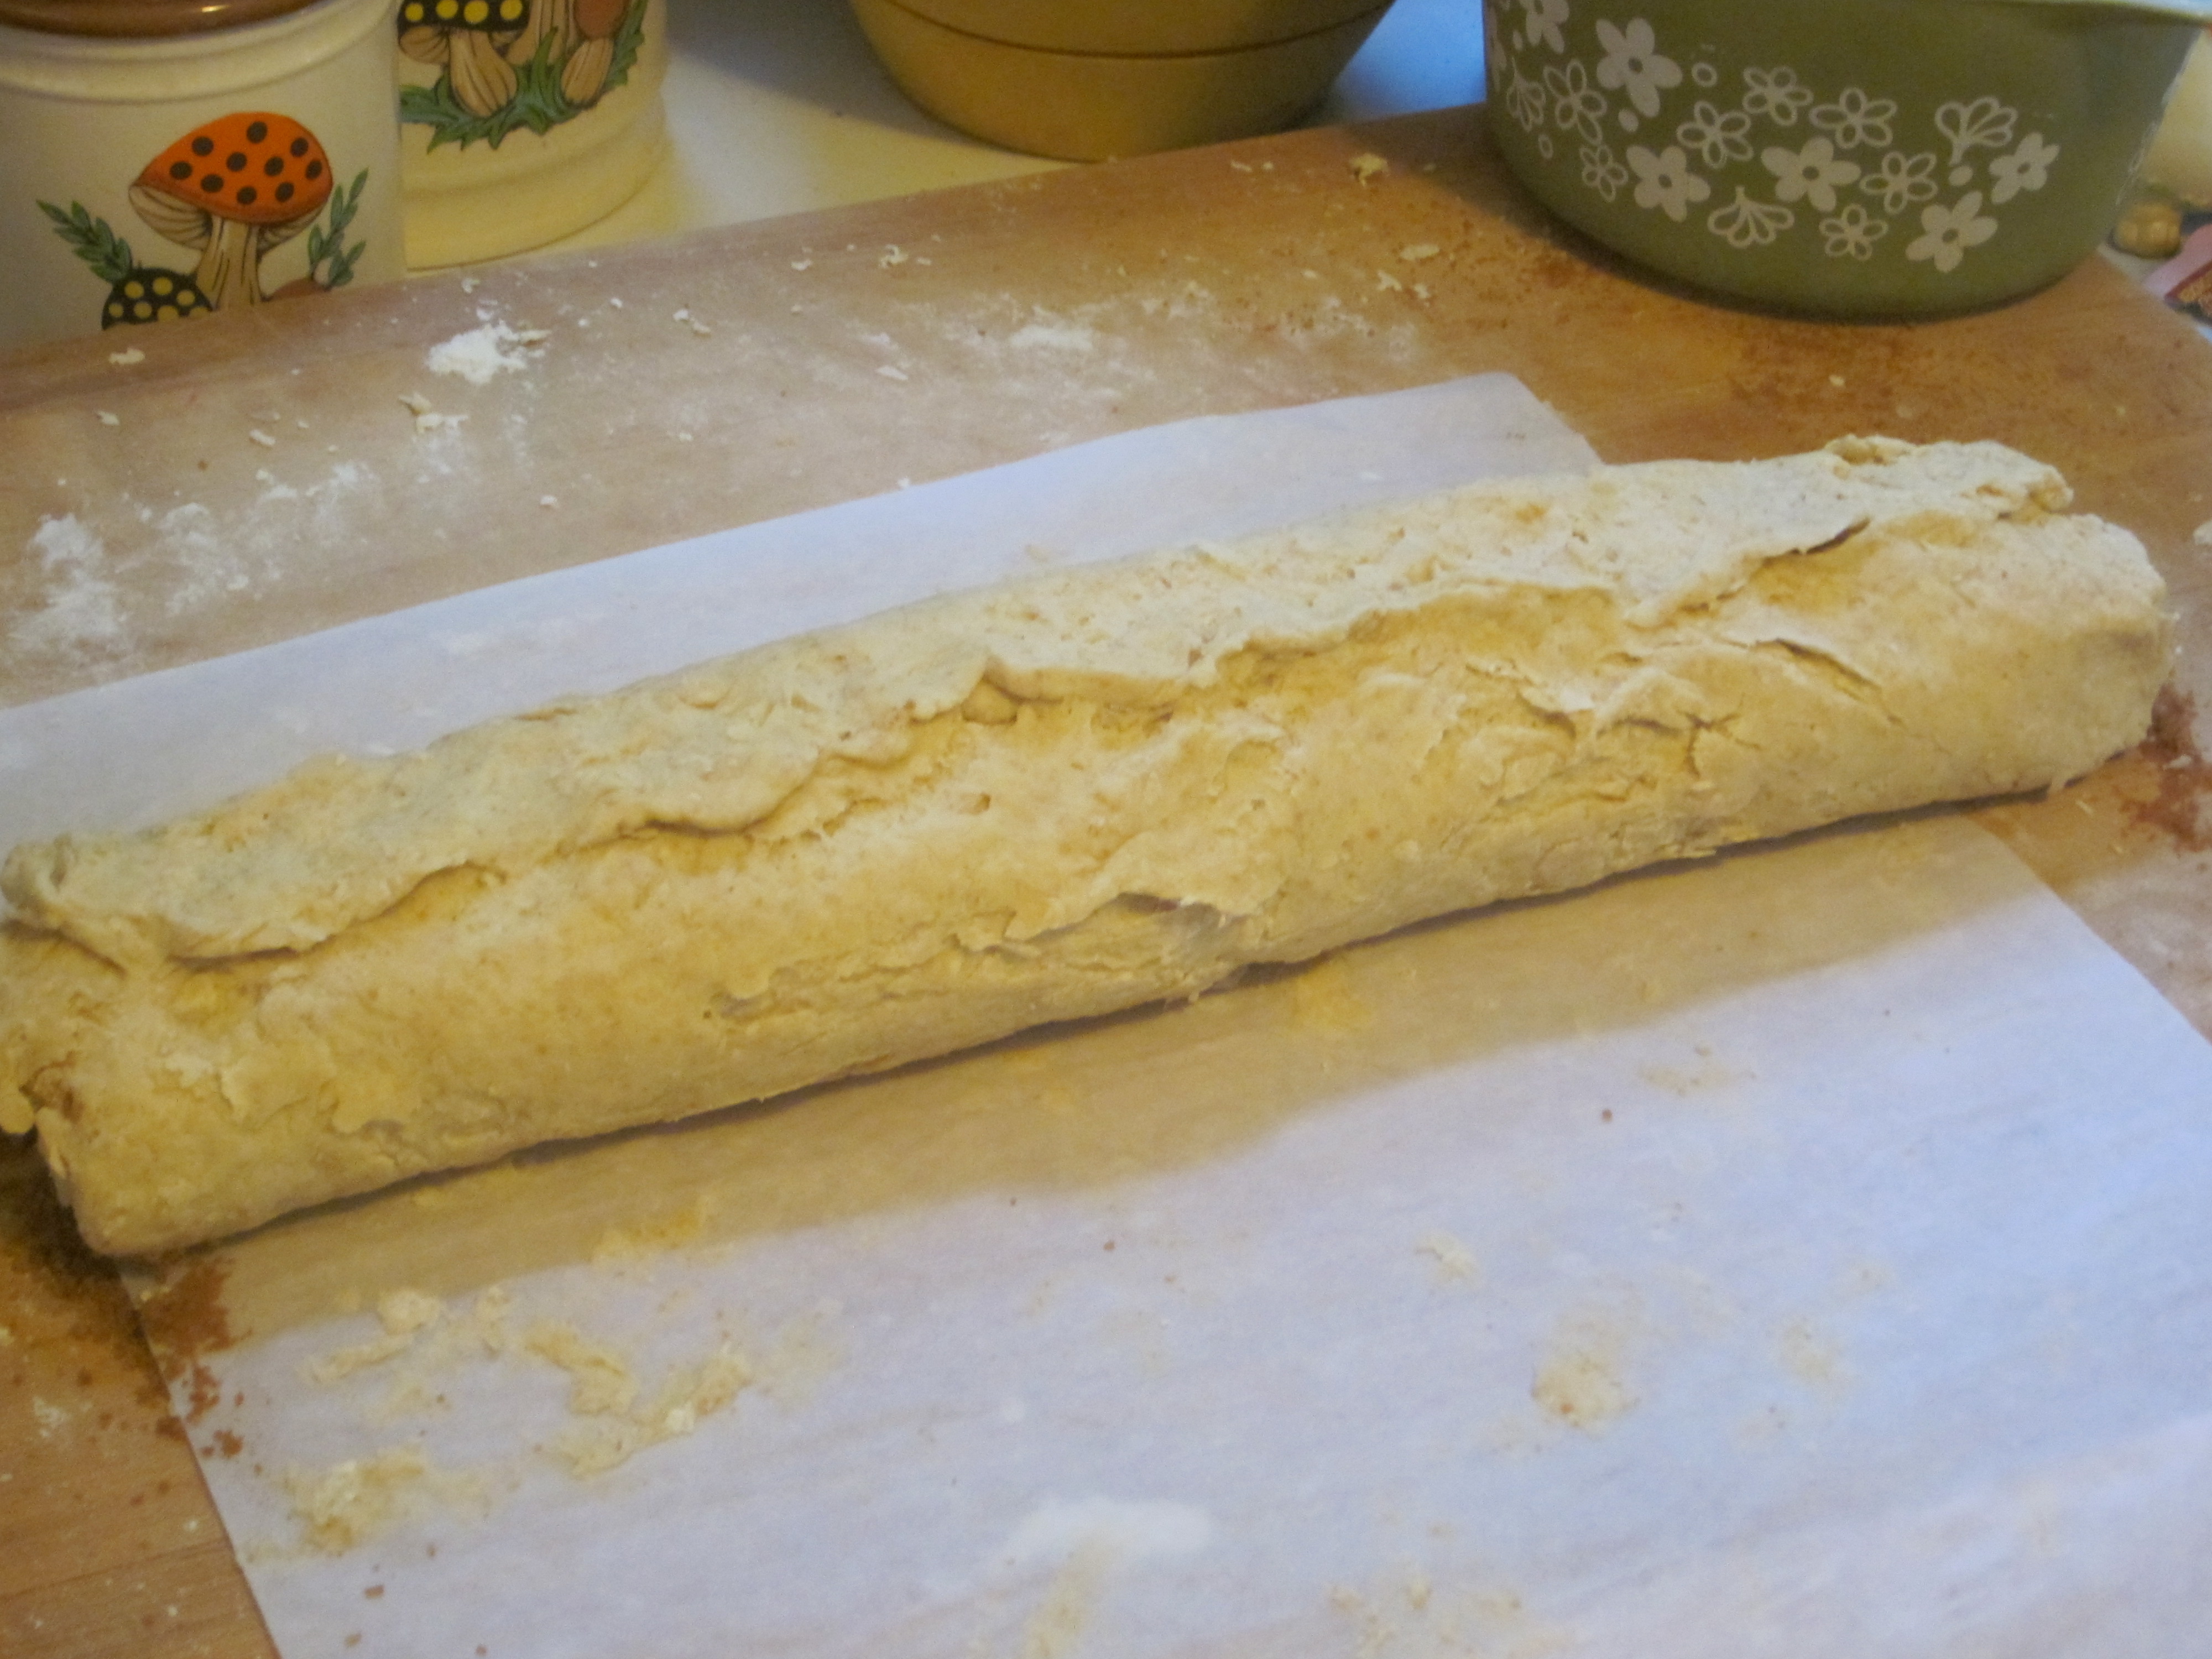
IMG_1874

Roll it up!

IMG_1875

Slice it up into thick 1  1/2″ rounds! These rounds aren’t thick enough! Next time I’m making 10 instead of 12.

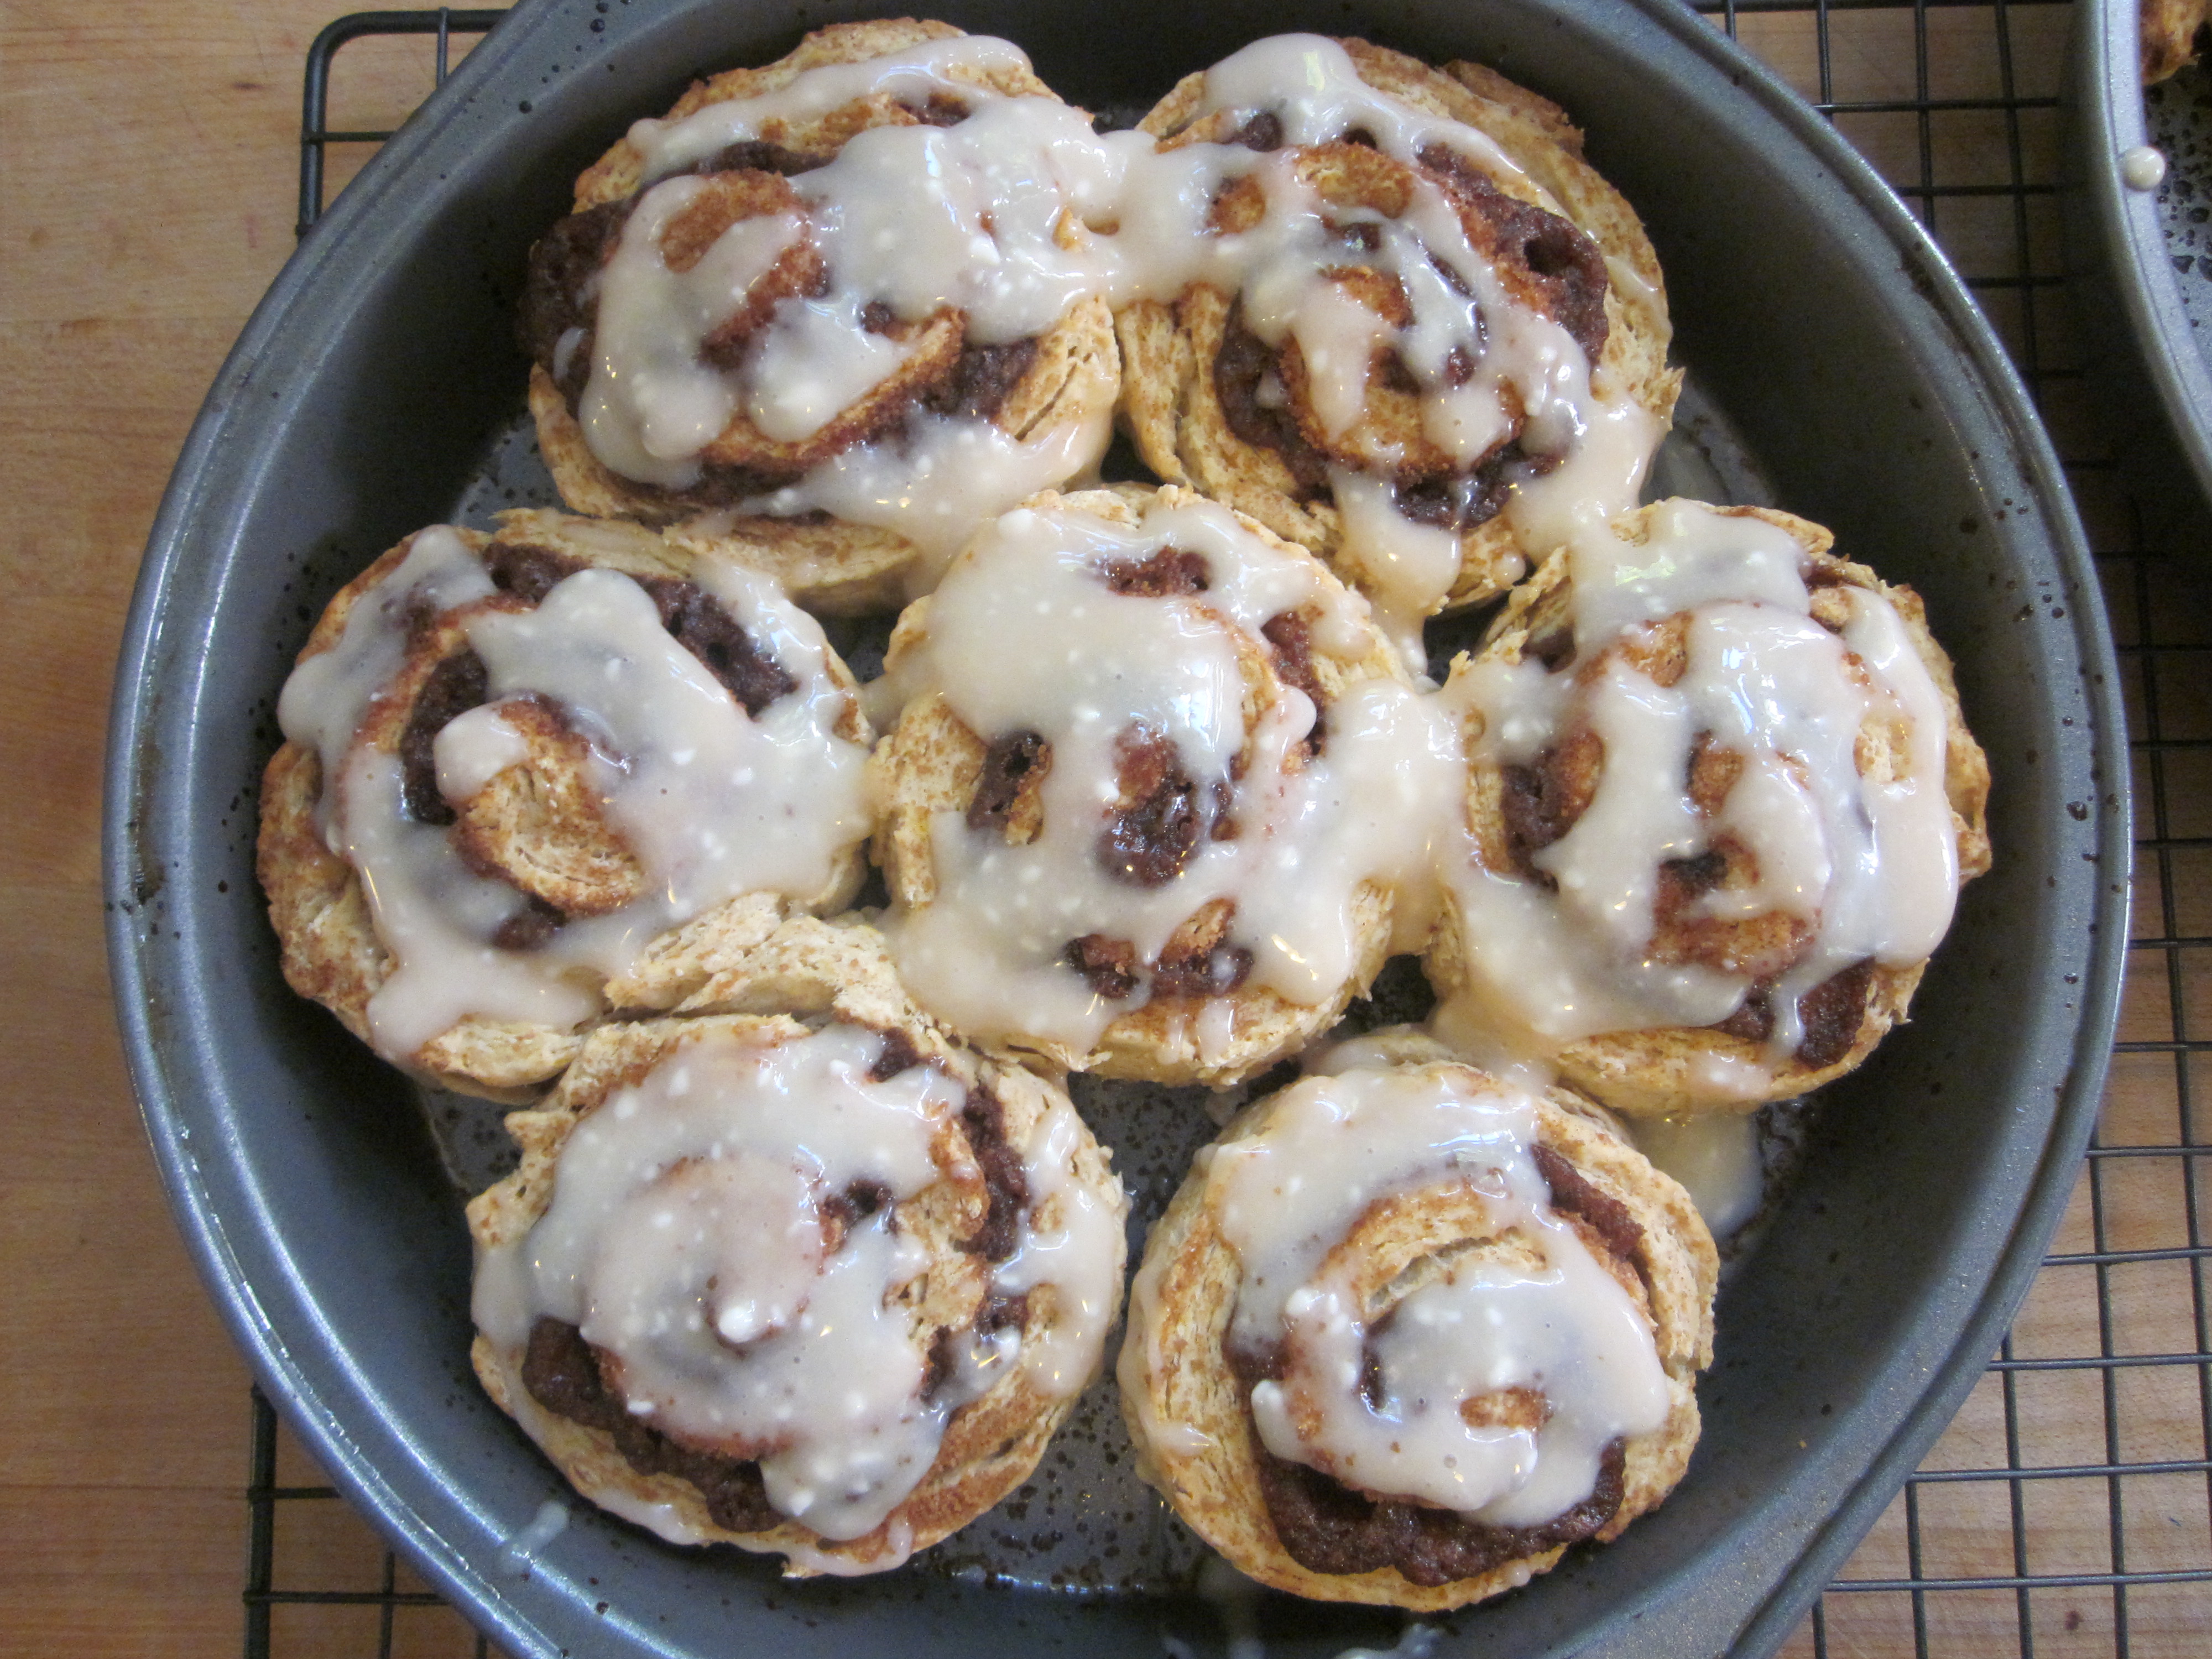
8) Space out evenly in a rectangular baking pan or squeeze them into a 9″ round dish. Bake at 450 for 12-14 min OR at 375 for 30 min. Always check them at minimum cooking time.

You want to give them a little room to spread out… but the secret to really awesome moist sticky cinnamon rolls is having them close enough to spread/bake squished together…

(Tip: On my first attempt, I gave them too much room. I only put 7 in the pan. I guess I was thinking that way they could get really big, which they did, but the sides were too tough/overcooked from being separated – what I learned is that when they spread together and cook while touching, it makes them way more moist & smushy! So go ahead – jam them all in one pan together!

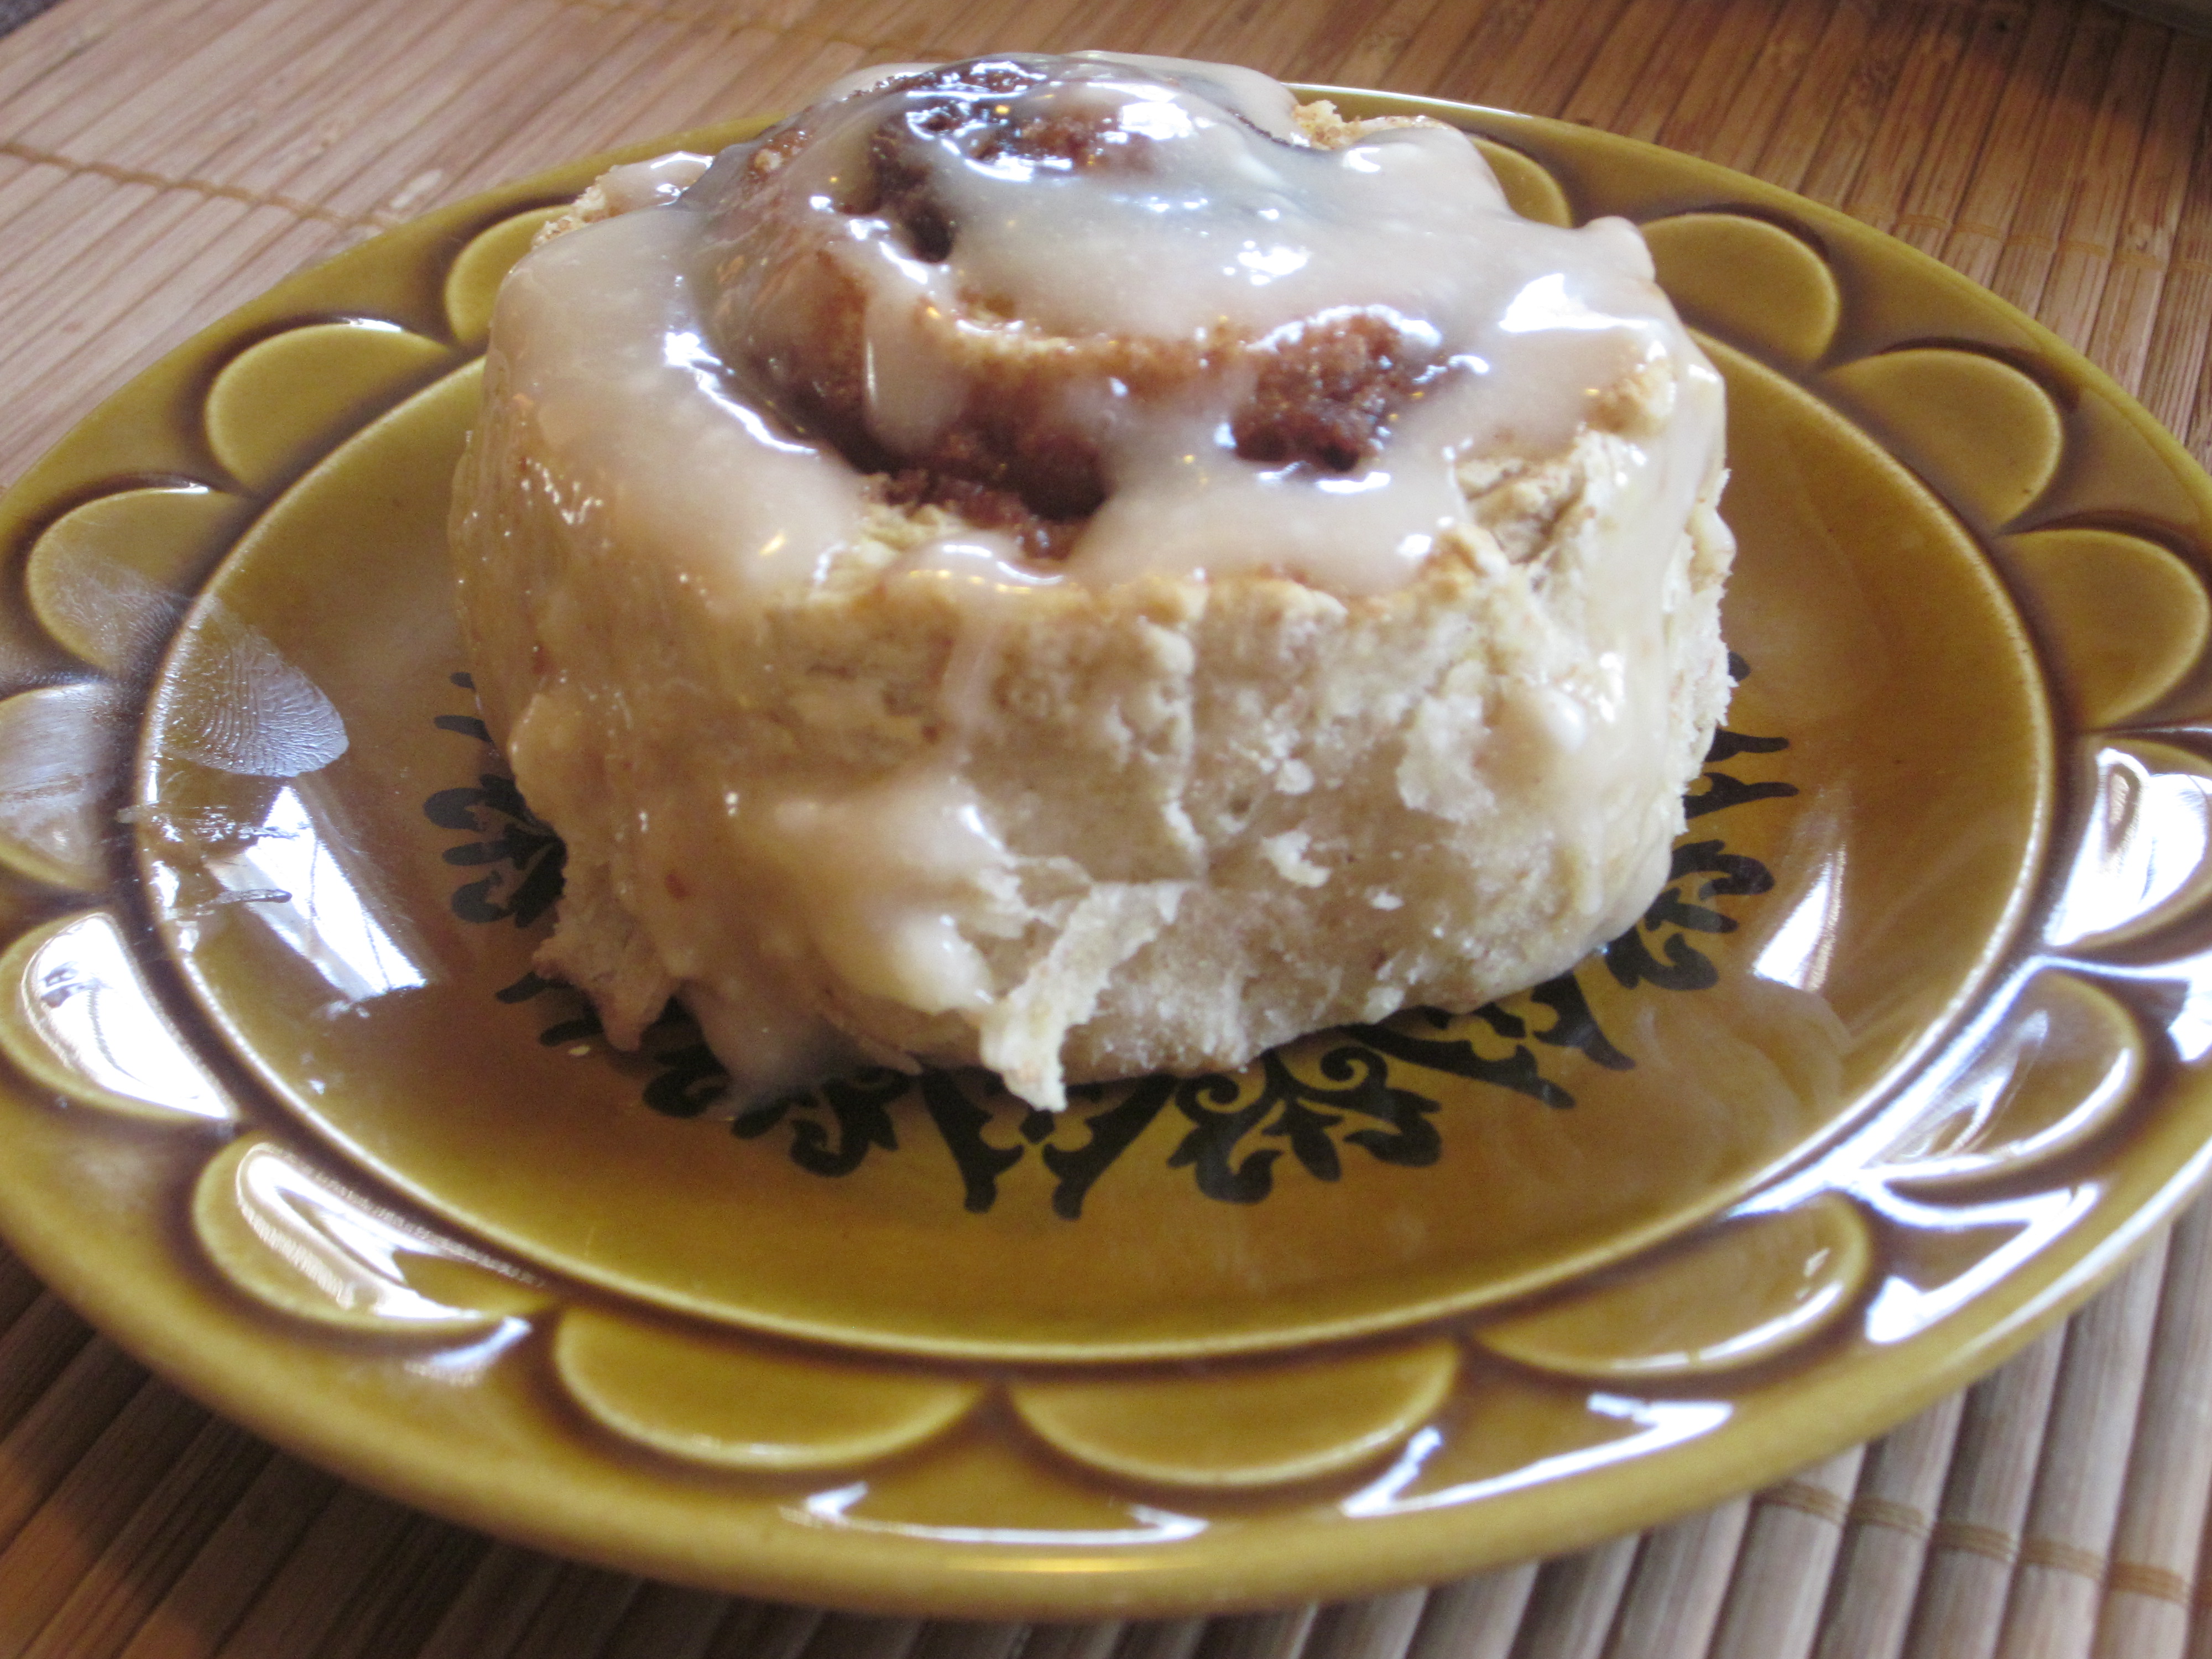
9) Let them cool for several minutes before frosting them with icing of choice. I suggest Frosting #2.

FROSTING / ICING

Frosting #1 / Glaze

  • 1/2 cup powdered sugar + 2 Tbsp
  • 2 Tbsp soymilk
  • 1 tsp vanilla

Frosting #2 / Icing

So, I was making the glaze, but then I paused because I remembered… When I was a kid, we used to get those Pillsbury Cinnamon Rolls that you busted open the tube and they were ready to go with the icing on the side – that thick icing that you had to spread over the fresh-baked rolls with a knife… And I thought, this glaze isn’t going to recreate my memory of those cinnamon rolls. It was just too thin. So I added a few things until it thickened up and tasted just right… So I made the glaze above and added:

  • >1/3  tub of 8 oz container cream cheese (I like Tofutti)
  • a splash of fresh squeezed oj
  • 1 tsp vanilla
  • a little orange zest (optional)

Blend or whip thoroughly until creamy. Chill until ready to serve. You can thank me later 😉

IMG_1890

These tasted great but there needed to be more rolls in the pan to keep the sides from being over-cooked. Ooooh! They are soooo goood! I strongly recommend making 10 rolls and squishing them all up in there for No-Rise Perfection!

IMG_1896

Cinnamon Rolls

When I think of Halloween, I think of fall… pumpkins… having fun… dressing up (more fun)… and let’s face it – SUGAR!!  If you have kids (or are a big kid at heart), you’ve probably been pretty busy lately going to pumpkin patches and Halloween parades.  For Halloween this year, I’ve decided to share with you my most recent, most favorite, most-sugary, non-candy, yummy homemade treat… a.k.a cinnamon rolls!

I have warm fuzzy memories of eating cinnamon rolls throughout my life… There’s the Pillsbury ones I used to eat as a kid that you popped right out of the refrigerated tube & baked… & there’s the ready-made, full-of-preservatives boxed kind (that sit on store shelves for days before being eaten)… sadly(?), neither are vegan – which I have decided is probably a good thing! If you are vegan, you probably know it is practically impossible to find a vegan cinnamon roll, let alone a freshly baked one.

Once upon a time, there was a vegan bakery here in Athens (the Green Scene Baking Company) that made some out-of-this-world delicious vegan cinnamon rolls, baked fresh on the weekends, but the Green Scene sadly closed a few years ago when the owner decided to move to New York 😦 We miss you, Green Scene!

I definitely have a love affair with sugar, and I have dreamed of making cinnamon rolls for what seems like FOREVER. I’ve long ago book-marked all my cinnamon roll recipes in my books, but still kept putting off making them.  I guess they just seemed like too much work or time.  Well, let me just say, there is definitely something to be said for homemade cinnamon rolls.  For one thing, they do take some effort (kneading the dough… and being patient while the dough rises), but that effort turns into the most delicious treat that you simply cannot replicate from a can. Personally, I think rolling & cutting the cinnamon log is fun!  I was practically drooling from the anticipation of eventually eating one!

So, make these yummies and pat yourself on the back (or tummy) for doing some actual work!  I promise you, these babies are so much better than store-bought rolls or tubes. They are worth the extra effort!  If you have a mixer with a bread hook, let it do most of the work for you!  If not, get those arm muscles ready to knead some dough!

~Cinnamon Rolls~

Dough:

  • 1/4 cup water
  • 3/4 cup soymilk
  • 1/4 cup sugar
  • 1 pack yeast (or 2  1/4 tsp if you are using yeast from a jar)
  • 1/4 cup coconut oil
  • 1 tsp cinnamon
  • 1/2 tsp salt
  • 2  1/2 –  3 cups all-purpose flour

Filling:

  • 2/3 cup packed light brown sugar
  • 1 Tbsp cinnamon
  • 3/4 cup chopped nuts, like pecans or walnuts (optional)
  • 1/2 cup softened earth balance (or other soy margarine)
  • a little raw sugar to sprinkle on top before rolling the dough

Icing:

  • 1 cup powdered sugar
  • < 2 Tbsp almond or soymilk
  • 1 tsp vanilla extract

RITA’s TIP: I like to let my mixing bowl sit with some hot water in it to warm it up first. Just don’t forget to dump it out before starting your recipe!

First, make the dough:

Heat the water, soymilk & sugar in a small saucepan until warm.  If it’s too hot, it will kill the yeast – if it’s too cold, the yeast won’t grow, so think like Goldilocks and make sure it’s just right! Put in the dough-mixer bowl. (I have a Kitchen-Aid mixer with a bread hook attachment.)  Add the yeast and wait until its bubbly/foamy looking, so you know the yeast is “alive”.  Add the oil, cinnamon, salt and 2  1/2 cups flour.  Mix (using bread/dough hook) until it’s not sticking to the sides, adding more flour as necessary.  If you do not have a mixer with a bread hook, you will have to knead this by hand!  Knead for 5-7 minutes until dough is nice and smooth.  (Don’t skimp on the minutes here – the kneading process is vital (no pun intended) to making the gluten activated in the dough.) Place the dough in a greased bowl, cover with plastic wrap or a towel, and let rise for 1 hour in a warm place.

Make the filling by mixing the filling ingredients together while the dough is rising and set it aside.  After dough has risen, punch it down and then let it rest about 10 minutes. Then roll out the dough into a large rectangle (try to shoot for a large rectangle, 12″ x 18″).

Spread the filling evenly over the dough and give it a little (or a generous) sprinkle of raw sugar. Next, carefully roll the dough as tight as you can into a big log, pinching it closed when you get to the end (spread a little water on the edge to help seal it shut).

Cut the log into 12 rolls.  I like to cut it in half and then cut each half into 6 even pieces.  They should roughly be 1″ thick.

Arrange them, slightly spaced out, on either a baking sheet or a 9 x 13″ pan.  As you can see, I first used a round baking dish but the rolls got too big and were popping out as they were baking, so I would recommend not using a small round pan. Give them a little room to rise and cover them loosely with plastic wrap or a towel*.  Let the rolls rise for another 30-40 minutes until almost doubled.

* At this point, if you tightly wrap the prepared rolls, you can put them in the refrigerator for up to 24 hours.  When ready to bake them, take them out of the fridge & let them come to room temp for about 30 minutes and then wait until they double in size before baking.

The rolls looked good in this pan until they grew more in the oven and were popping out!

Bake at 375 for about 20 minutes, or until rolls are golden and sound hollow when tapped.  Let the rolls cool for about 5 minutes – in the meantime, prepare the icing by mixing ingredients together well with a fork in a small bowl. Drizzle the icing on the warm cinnamon rolls and ENJOY!

This is after baking...See how they are all popping up and out of the pan?! I would recommend using a different pan with more room for them to grow! This is before I put icing on them.

The end result - a stunningly delicious homemade cinnamon roll!

P.S. I came up with this recipe after reviewing several other cinnamon roll recipes, taking & giving here and there… I have only made these once, so feel free (as always) to comment and give me some feedback!  I decided to only make these on special occasions or when I have guests because there is no excuse to eat 2-3 cinnamon rolls a day by oneself!  Not to mention, my kids tried to eat one for every meal!